My Cart
Your Cart is Currently Empty
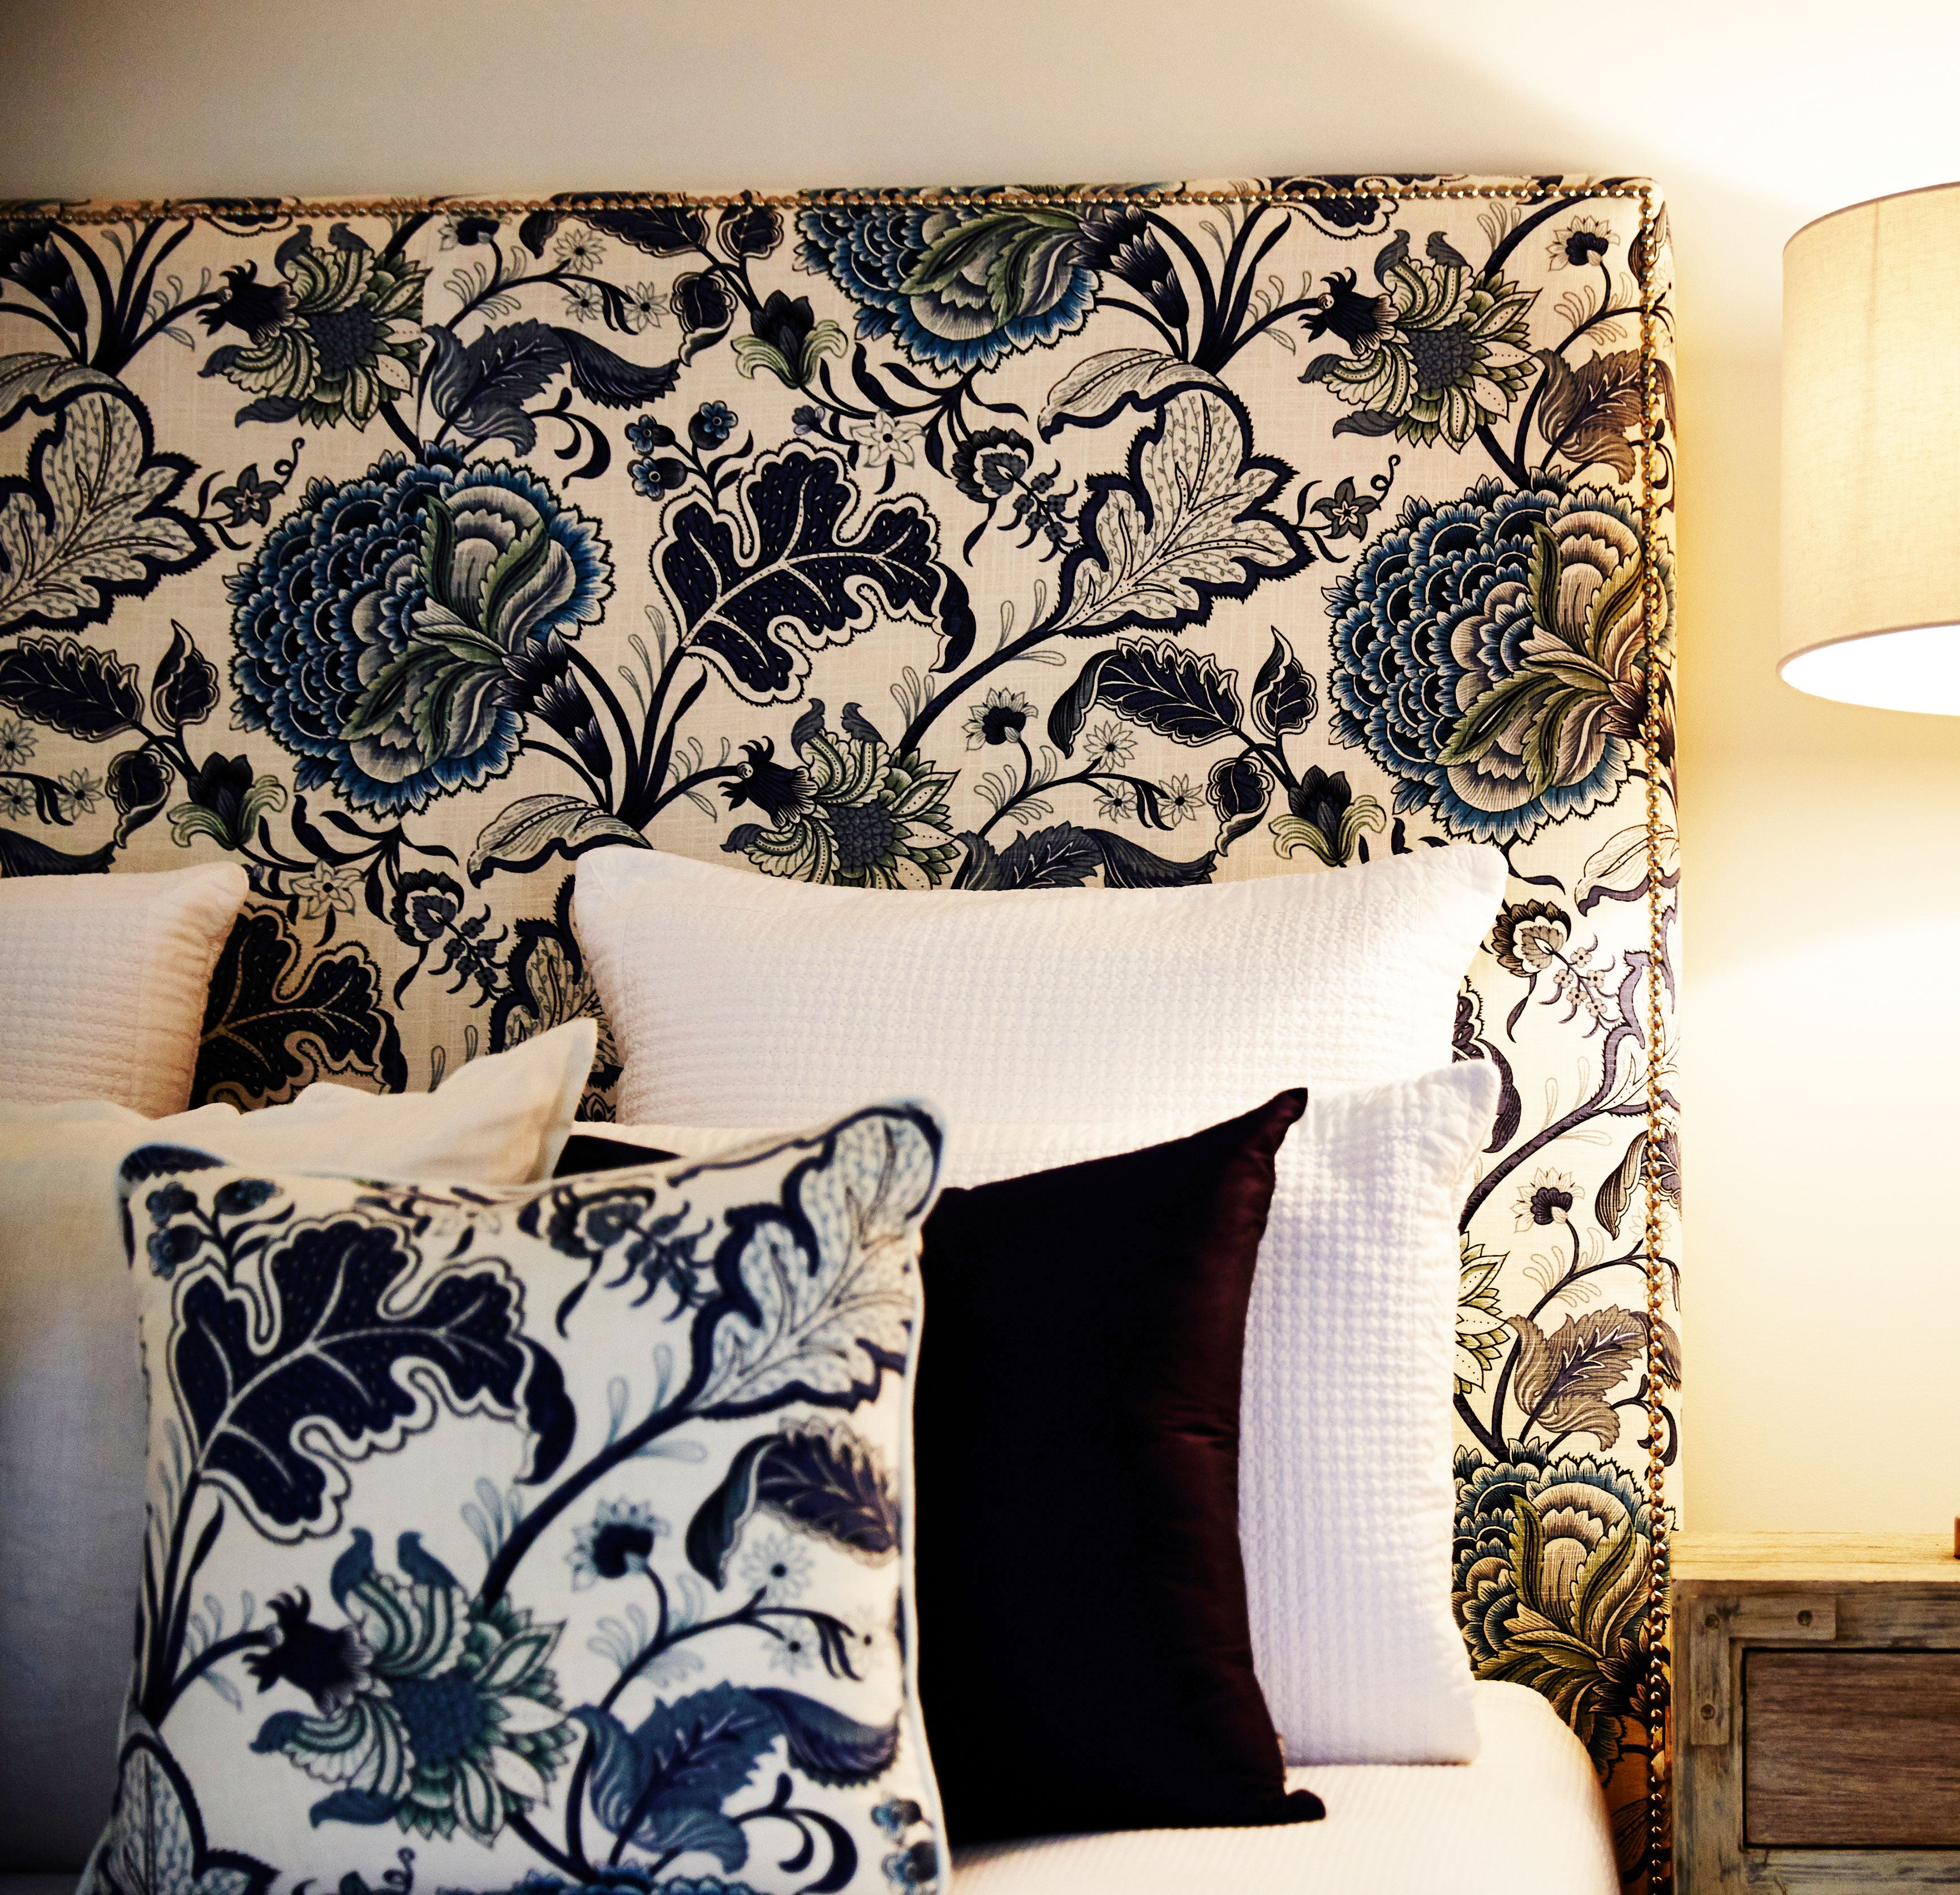

Upholstered headboards are having a thing at the moment and feature strongly in every interiors magazine story. Once seen as as stuffy and consigned to room 101 along with Austrian blinds; fabric headboards are enjoying a revival and for good reason. Whether you commission a custom made headboard or create one yourself, the simple structure is an easy way to both create impact and pull a room together. Fabric headboards work well with almost any style and are equally effective in a small or large space. In fact, a headboard can almost exert greater effect in a smaller space, likewise a matching pair of head boards on twin single beds adds order and uniformity to a guest or children's room.

Hotel designers use headboards to great effect, a simple way in which to add opulence to a room where space is often at a premium, a headboard can add both height and comfort to a room without incurring huge expense. This style can work well for an apartment or city Airbnb, the classic luxury hotel look uses velvet with button detailing on a headboard and max's out on height to create a luxurious finish. The shape of the board together with the chosen fabric will determine the style of the room, there are no limits as to the shape of the headboard. from a simple demi lume board to the scallop edging that is very now, or a classic rectangle bedhead. Consider the size of the room you are designing for and more importantly the height. When space is tight it often pays to go large with the headboard rather than small which can emphasise the confines of the room.

Once the shape and size has been decided it is down to the fabric and like the shape, the fabric choice will be dictated by the design of the room. As long as the fabric is of a suitable weight and therefore suitable for use as upholstery fabric you can choose from linen, tweed, velvet and cottons. Consider the overall effect you are looking to create. A rich mustard velvet against a dark painted wall creates a rich and luxurious design. A warm wool tweed is perfect for a rural setting, where the browns and purples that are a feature of the rural landscape can be used in the interior to great effect. A natural linen upholstery fabric, works well with almost any style from a Scandinavian decor to an austere contemporary look. Our range of toile de jouy upholstery fabric is a classic choice for this type of upholstery, a design classic that won't date and a fabric that will soften the overall look.

Toile de Jouy offers a classic choice perfect for creating a headboard, this print is available in a range of colours.

Herringbone weave linen is ideal for rustic inspired decor or a contemporary look, linen remains a classic choice that won't date.

The rich colours of our Exotic Monkey linen will create an eye catching head board.

The soft warm tones of yellow Gertrude Garden linen make it a great choice for a bedroom.

Ticking is the classic upholstery fabric, this Sea spray colour is a modern take on a design classic.
This project is fairly simple and will take a few hours. I generally find that projects such as constructing a head board are made so much easier if you can designate a space in which to work. A space that doesn't require clearing away to make way for dinner, homework or children's crafting!
Once you've decided upon the shape, size and fabric for your design, you will need the following materials and tools to construct the headboard:
Plywood can be purchased at any DIY store and if you visit with your dimensions, there is usually someone on hand to cut it to size, saving you the job, particularly helpful if you don't have access to a jigsaw. For the upholstery materials check out online stores such as https://www.empressmills.co.uk/
You will also require these tools:


Using a staple gun to pull the fabric taut.

This headboard picks out the muted tones of the exposed brickwork.
Creating a head board is a fun and easy way to add impact to any room. It's also a cost effective design hack, one where even a remnant can be used to great effect.
For further how to inspiration, YouTube is a rich source of tutorials, although the design of the head boards are generally more American.
For design inspiration, check out this piece on House & Garden Magazine website
https://www.houseandgarden.co.uk/gallery/headboards
Have fun
Alex x